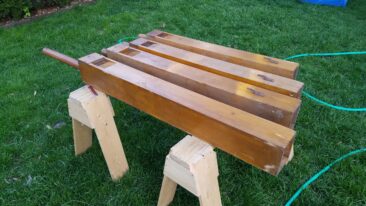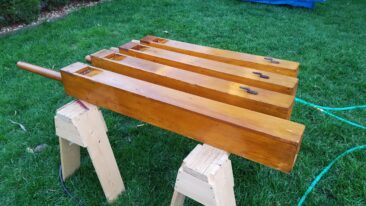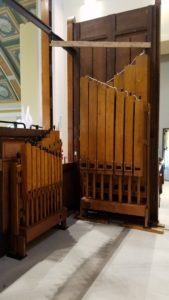
The only original 16′ rank of pipes for the St. Peter Moller Opus 5688 is the “Bourdon”. Since they take up the most space in my shop, I wanted them out first!
About the Stop
A “Bourdon” is a set of pipes, generally found in the pedal division of an organ, which is always “stopped”, meaning, closed on one end by a tuning stopper, and has a dull sound.
The pipes themselves are not actually 16′ tall, but are only of the 8′ length. They derive this 16′ name because when any kind of tube has one end closed, the pitch which the tube produces automatically drops by an octave. In other words, the frequency (hertz) is cut in half (doubling the wavelength), thus producing a lower sound. Try this with a small piece of PVC pipe! Boudon pipes are a economical way for an organ to have the low bass sounds of a 16′ rank, and are especially prudent in installations where space is limited! (We obviously don’t have this problem at St. Raphael’s!)
Audsley writes about the Bourdon:
“Its normal tone has a somewhat dull droning quality, which is well expressed by the German synonyms Brummbass or Brummer (from brummen – to hum, to drone).
These pipes will, hopefully, serve two functions in this organ. In addition to their primary role as the “Bourdon”, they will also serve as a “Lieblichgedeckt”. This kind of stop is even softer, and typically a more delicate sound than a Bourdon. The way this will be accomplished on this organ is by means of a pressure regulating box. In other words, the wind pressure going to the Bourdon will be lowered in order to achieve the effect of a softer rank of pipes. Two ranks of pipes for the price of one!
Repairs
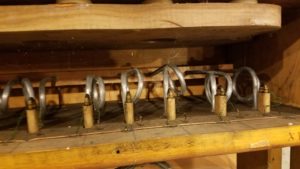
The biggest project with these pipes were their chests, which required a near-total overhaul. Thankfully, their leather pouches were in great shape despite their age and storage situation, so they only got a “dusting”. However, the rest of the chest components needed work. You’ll be able to see pouch replacement on some of the other chests.
Some work to be done on the chests:
- Clean
- Re-seal primary valve tubing
- Check all leather valves, replace if necessary
- Tighten all screws
- Repair woodwork if necessary
- Clean all magnets and their channeling
- Also cleaning each individual armature (ugh!)
- Re-wire all magnets
- Put it all back together
- Check for air leaks, test valves under pressure
- Troubleshoot from there
- Install the racking and make sure everything is stable.
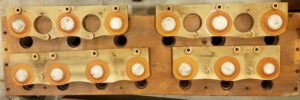
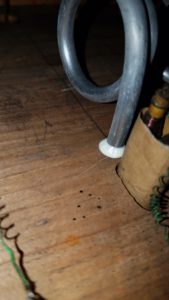
This is a very general overview: Most of the pouches get help from a “primary valve”, which is an additional pouch in the mechanical chain, which basically provides the necessary leverage to operate the large pouches of the lowest notes. The magnets themselves can’t provide enough oomph for this job. (I don’t want to get too complicated here.) One issue with this primary valves that hopefully will not come to bite me in the butt is the condition of the valves themselves. It just isn’t in the budget to redo the entire valve assembly, which is the most ideal thing to do. So, I cleaned what I could and replaced disintegrated leather nuts where necessary.
Each primary valve has a lead tube that goes to it. The original sealant used has long become brittle and must be removed and reapplied for each note. While all those are out, it is a good time to clean the inside of the chest. After putting all of that back in, wiring can commence and soon thereafter testing of the reassembled chests.
There are two chests for the Bourdon, and I would say each chest got 8 hours or so of dedicated work.
Pipes
The pipes for this rank mostly just needed a good cleaning and polishing, however some repairs were needed.
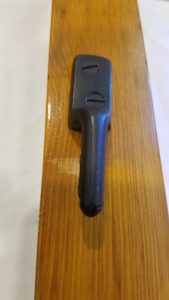
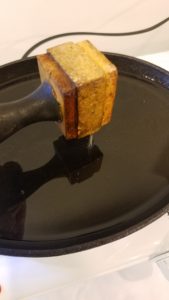
A small detail, but all of these hooks were rusty. Now, it really doesn’t matter, but while I got them in front of me, might as well slap a coat of paint on them!
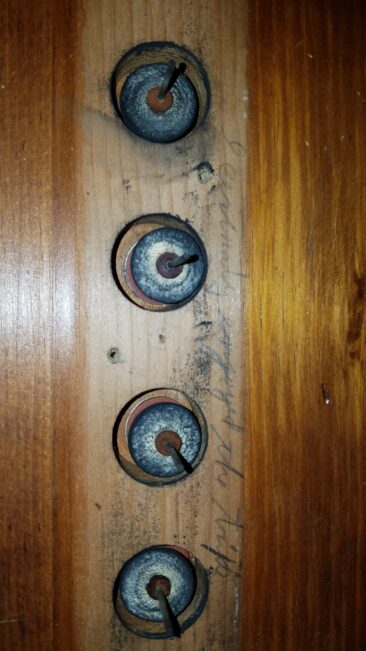
As stated before, all of these pipes have a “stopper”, which is used to tune the pipe to the correct pitch. All of these stoppers have a cork seal around them. This cork has seen better days, but it was not in the budget to replace it or upgrade to a felt/leather combination. So, after cleaning, the stoppers were dipped in melted tallow (rendered lamb fat), and allowed to dry. The inside of the pipe is also coated with this tallow, in the area that the stopper would travel. This helps to seal the cork and the wood, but also gives the stopper a better chance at sealing, and also staying put! (The big stoppers tend to fall down into the pipe when they get old and worn out.) While this work is not a complete fix, these stoppers will give us many more years of service before they finally must be completely overhauled.
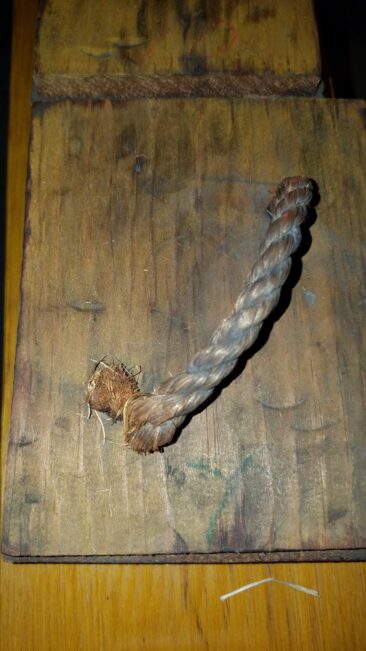
The largest stoppers have a twine rope instead of a wooden handle. The ropes, all original, were so brittle they would break when pulled. So, they had to be replaced.
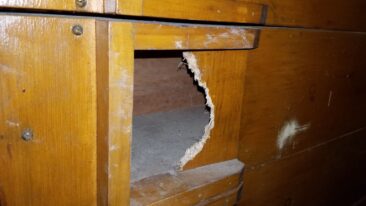
One pipe had a creature do some work on it! While it would have been ideal to remove this piece of wood and fabricate a new piece, I found the pipe to still be working acceptably, and I simply opted to smooth out the edges and leave it be. Perhaps in the future the time can be taken to properly fix this pipe. For now, it’s not worth it.
See the photogallery below for more pictures of this process!

